The Canon FL Lens Service Manual provides detailed guidance for maintaining and repairing FL series lenses, ensuring optimal performance and longevity for photographers and technicians alike.
Overview of the Canon FL Lens Series
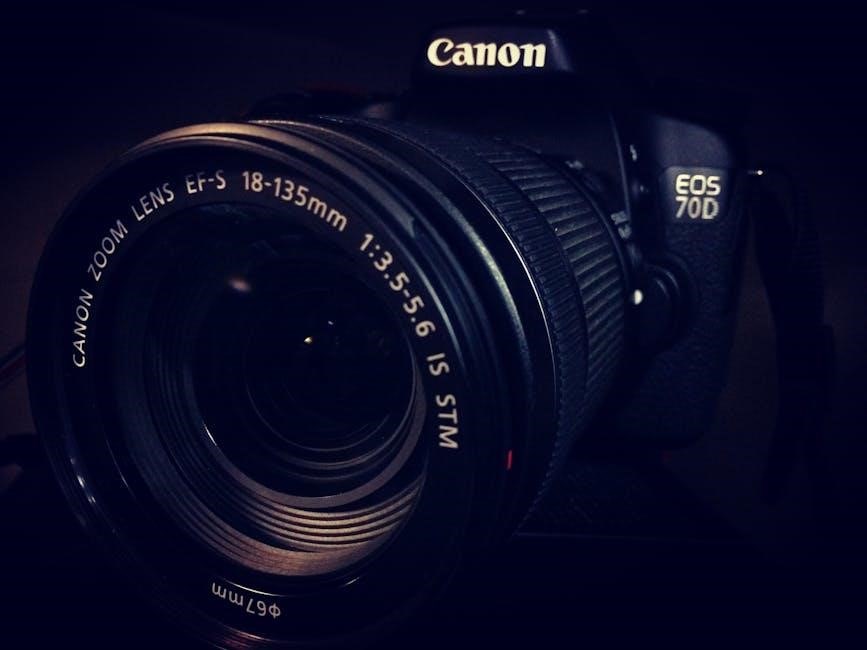
The Canon FL lens series, introduced in the late 1960s, marked a significant evolution in lens design, bridging the gap between earlier FL mounts and the later FD system. These lenses were known for their robust construction, optical precision, and compatibility with a wide range of Canon cameras. The FL series offered a diverse range of focal lengths and apertures, catering to both professional and amateur photographers. Key features included manual focusing, aperture priority modes, and a durable build that ensured longevity. The series played a crucial role in establishing Canon’s reputation for high-quality optics, with models like the FL 50mm f/1.8 becoming iconic for their performance and versatility. This series remains popular among collectors and enthusiasts today, emphasizing its timeless appeal and reliability.
Importance of the Service Manual for Maintenance and Repair
The Canon FL Lens Service Manual is indispensable for ensuring proper maintenance and repair of FL series lenses. It provides detailed procedures, parts lists, and troubleshooting guides, enabling technicians and enthusiasts to address issues effectively. The manual is crucial for diagnosing and resolving common problems, such as aperture malfunctions or focusing ring misalignment, ensuring optimal lens performance. By following the manual’s instructions, users can prevent further damage, extend the lens’s lifespan, and maintain its optical quality. The document also includes step-by-step disassembly and assembly guides, making it an essential resource for anyone aiming to service or repair their Canon FL lenses professionally and efficiently.

Key Features and Specifications of Canon FL Lenses

Canon FL lenses are renowned for their high-quality optical design, wide aperture range, and compatibility with Canon’s iconic camera systems, ensuring exceptional imaging performance and versatility for photographers.
Optical Design and Construction
Canon FL lenses feature a sophisticated optical design with multi-element constructions, ensuring minimal chromatic aberration and distortion. Their robust build incorporates high-quality glass and precision engineering for sharpness and durability.
Aperture Mechanism and F-Stop Range
The Canon FL lenses incorporate a precise aperture mechanism, allowing photographers to control light intake effectively. The typical f-stop range varies by model, with many lenses offering a maximum aperture of f/1.8 or f/2.8. For instance, the FL 50mm f/1.8 lens provides excellent low-light performance. The manual aperture ring enables smooth adjustments, ensuring creative control over depth of field. The mechanism is designed for durability, with a focus on maintaining accurate aperture stops. Proper servicing of this component is crucial for maintaining optimal image quality and functionality. The manual details procedures for adjusting and calibrating the aperture system to ensure precise operation across the entire f-stop range.
Mounting System and Compatibility

The Canon FL lenses utilize the FD mounting system, designed for compatibility with a range of Canon camera bodies. This system ensures secure attachment and proper communication between the lens and camera, allowing for accurate metering and aperture control. The FD mount was a significant advancement in lens design, offering improved mechanical stability compared to earlier models. The manual provides detailed instructions for inspecting and maintaining the mounting system to prevent misalignment and ensure smooth operation. Compatibility with various Canon film and digital cameras makes the FL series versatile for photographers seeking high-quality optics across different setups. Proper mounting is essential for optimal performance, and the service manual guides technicians in diagnosing and addressing any issues related to the lens mount.
Detailed Repair and Maintenance Procedures
This section outlines step-by-step procedures for disassembling, inspecting, and reassembling Canon FL lenses, ensuring precise repair and maintenance to restore optimal functionality and image quality.
Disassembling the Lens for Service
Disassembling the Canon FL lens requires careful preparation and precision. Begin by removing the front decorator plate, typically held by screws, to access internal components. Next, detach the lens-mounting ring by unscrewing the retaining ring or releasing the locking mechanism. Once removed, gently lift the front optical unit to expose the aperture mechanism and focusing helicoid. Specialized tools, such as a spanner or lens wrench, may be necessary for certain parts. Always refer to the service manual for specific disassembly procedures to avoid damaging critical components. Proper documentation of each step ensures accurate reassembly, maintaining the lens’s optical and mechanical integrity.

Adjusting the Aperture and Focusing Mechanisms
Adjusting the aperture and focusing mechanisms of a Canon FL lens requires precision to ensure proper functionality. Start by setting the aperture to its maximum opening and calibrate the depth-of-field scale. Use a small screwdriver to adjust the aperture stop-down lever, ensuring smooth operation. For the focusing mechanism, align the lens’s focusing ring with the camera’s focusing screen or viewfinder. If misalignment occurs, adjust the helicoid’s position using shims or adjustment screws. After adjustments, test the lens by focusing on a distant object and verifying sharpness. Proper calibration ensures accurate focus and aperture control, maintaining the lens’s optical performance and user experience.
Replacing Damaged or Worn-Out Parts
Replacing damaged or worn-out parts in a Canon FL lens requires careful disassembly and precise reassembly. Identify the faulty component using the service manual’s illustrated parts list. Common replacements include the aperture ring, focusing helicoid, or mount assembly. Remove the lens elements and internal mechanisms to access the damaged part. Use specialized tools, such as spanners or screwdrivers, to avoid further damage. Install the new part, ensuring proper alignment and secure fastening. Reassemble the lens in reverse order, applying a small amount of grease to moving parts. Test the lens by focusing and adjusting the aperture to confirm smooth operation and proper functionality. Regular replacement of worn parts prevents further damage and maintains the lens’s optical performance.

Troubleshooting Common Issues
Identify and resolve common issues like aperture malfunctions or focusing problems by following diagnostic steps and repair procedures outlined in the Canon FL Lens Service Manual.
Diagnosing Aperture Malfunctions

Diagnosing aperture malfunctions in Canon FL lenses involves checking the aperture blades for sticking or damage and ensuring the aperture ring operates smoothly. Use a multimeter to test electrical connections and verify proper communication between the lens and camera mount. Ensure the aperture lever is not locked or obstructed. If issues persist, disassemble the lens to inspect internal mechanisms for wear or misalignment. Refer to the service manual for specific troubleshooting steps and adjustment procedures to restore proper aperture functionality. Regular maintenance and cleaning can prevent such malfunctions, ensuring precise control over light exposure and image quality.
Resolving Focusing Ring Problems
Focusing ring issues in Canon FL lenses often arise from mechanical misalignment or debris accumulation. Begin by cleaning the focusing ring and surrounding areas with a soft cloth and mild solvent to remove dirt or grease. Inspect for worn or damaged components, such as the focus gear or helicoid, and replace them if necessary. Lubricate moving parts with a high-quality optical grease to ensure smooth operation. If the ring feels loose, tighten the retaining screws or adjust the helicoid alignment. Refer to the service manual for precise adjustment procedures to restore accurate focus control and eliminate play or stiffness in the focusing mechanism.
Addressing Lens Mount Misalignment
Misalignment of the lens mount can cause improper seating on the camera body, leading to issues like vignetting or incorrect aperture control. Inspect the mount for damage or debris and clean it gently with a soft brush or cotton swab. Check the alignment pins and ensure they are not bent or worn. If misalignment persists, adjust the mount screws according to the service manual’s specifications. Use a precision screwdriver to tighten or loosen the screws without stripping the threads. Reattach the lens to the camera and test the fit. If problems remain, it may be necessary to replace the mount assembly entirely to ensure proper functionality and prevent further damage to the lens or camera.

Maintenance Tips for Long-Term Use
Regularly clean lens elements with a soft cloth and avoid harsh chemicals. Lubricate moving parts sparingly to prevent friction. Store the lens in a cool, dry place to maintain optimal performance and longevity.
Cleaning the Lens Elements
Cleaning the lens elements is essential for maintaining optical clarity and performance. Use a soft, dry microfiber cloth to gently wipe away dust and smudges. Avoid using harsh chemicals or abrasive materials, as they can damage the lens coatings. For stubborn spots, dampen the cloth with distilled water, but ensure it is not soaking wet to prevent moisture from seeping into the lens. Never touch the lens surface with your fingers, as oils from the skin can leave residue. Regular cleaning prevents dust buildup and ensures sharp, clear images. Inspect the lens under bright light to identify any streaks or marks that may require attention; Cleaning should be done carefully to avoid scratching the glass surfaces.
Lubricating Moving Parts
Lubricating the moving parts of your Canon FL lens ensures smooth operation and prevents mechanical wear. Use a high-quality, lightweight grease or oil specifically designed for camera lenses. Apply a small amount to the aperture mechanism and focusing ring pivots. Avoid over-lubrication, as excess can attract dust or seep into internal components. Gently rotate the focusing ring and aperture control to distribute the lubricant evenly. Proper lubrication maintains precise focus control and aperture responsiveness. Always clean the area before applying lubricant to prevent contamination. Refer to the service manual for recommended lubricants and application techniques. Regular lubrication extends the lens’s operational life and ensures professional-grade performance. Perform this maintenance in a clean, dust-free environment to avoid compromising the lens’s optical clarity and mechanical integrity.
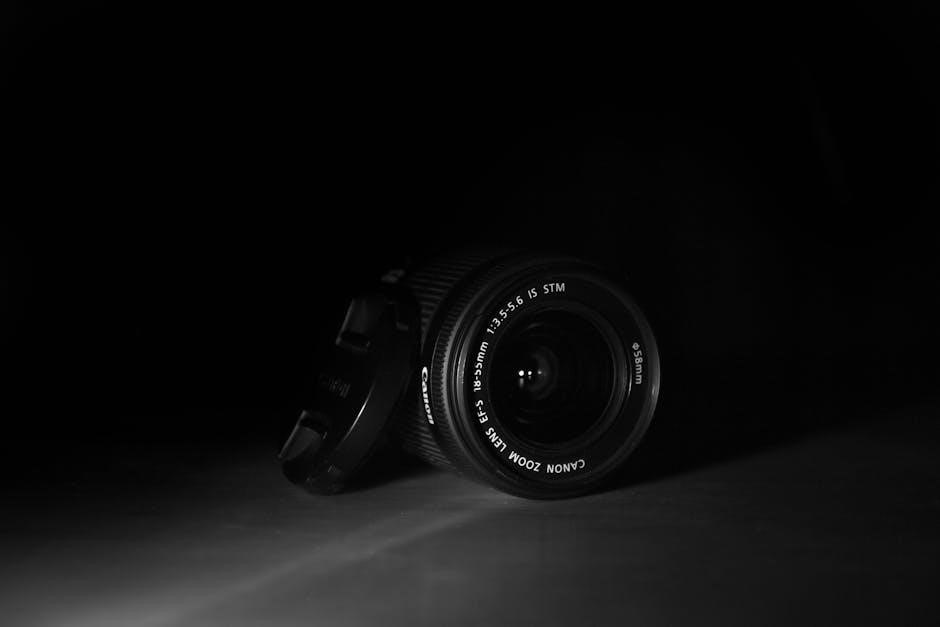
Storing the Lens Properly
Proper storage of your Canon FL lens is essential to maintain its performance and longevity. Store the lens in a cool, dry place away from direct sunlight to prevent thermal damage. Use the original lens caps or a high-quality protective case to shield it from dust and scratches. Avoid storing the lens in humid environments, as moisture can lead to mold or corrosion. Clean the lens thoroughly before storage to remove any dirt or debris. Place the lens in a protective pouch or soft case to prevent accidental impact. Ensure the storage area is stable and free from vibrations. Proper storage protects the lens’s optical and mechanical components, ensuring it remains in excellent condition for future use.