Welcome to the Mitsubishi MXZ installation manual‚ a comprehensive guide for installers to ensure safe and proper setup of Mitsubishi MXZ series systems. This manual provides detailed instructions‚ safety precautions‚ and troubleshooting tips to help you achieve optimal performance and reliability.
1.1 Overview of the Mitsubishi MXZ Series
The Mitsubishi MXZ series offers multi-zone heat pump systems designed for energy efficiency and flexibility. These systems allow multiple indoor units to connect to a single outdoor unit‚ providing zoned comfort. Features include whisper-quiet operation‚ advanced inverter technology‚ and modular design for easy installation. Ideal for both residential and commercial spaces‚ the MXZ series delivers superior performance and customizable solutions.
1.2 Importance of Proper Installation
Proper installation of the Mitsubishi MXZ series is crucial for ensuring safety‚ efficiency‚ and optimal performance. Improper installation can lead to safety hazards‚ reduced system efficiency‚ and potential equipment damage. Always follow the manufacturer’s guidelines‚ use specified tools‚ and comply with local building codes to ensure a reliable and efficient system operation. Proper installation guarantees years of trouble-free service and maximizes the system’s energy-saving capabilities.
Pre-Installation Requirements
Before starting‚ ensure the site is prepared with proper safety measures‚ necessary tools‚ and materials. Compliance with local building codes and manufacturer guidelines is essential for a successful installation.
2.1 Site Preparation and Safety Precautions
Ensure the installation site is structurally sound to support the unit’s weight. Adhere to local building codes and safety standards. Use proper tools and materials‚ especially for refrigerant handling. Avoid refrigerant leaks‚ as they can cause environmental harm. Wear protective gear and ensure proper ventilation. Follow electrical safety guidelines to prevent shocks or fire hazards. Always use R410A-compatible components to maintain system integrity and performance. Compliance with these precautions ensures a safe and efficient installation process.
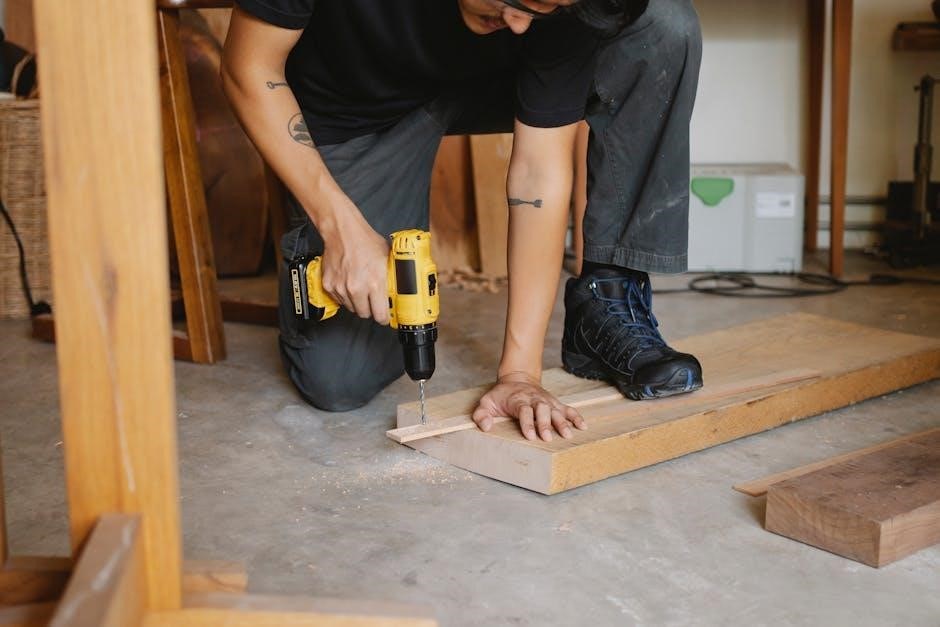
2.2 Tools and Materials Needed
Essential tools include tubing cutters‚ vacuum pumps‚ pressure gauges‚ and leak detectors. Materials required are refrigerant piping‚ insulation‚ electrical wires‚ and connectors. Ensure all components are compatible with R410A refrigerant. Use manufacturer-recommended tools to prevent system damage. Properly inspect all materials for damage before use. This ensures a safe and efficient installation process‚ adhering to Mitsubishi’s guidelines for optimal performance and reliability.
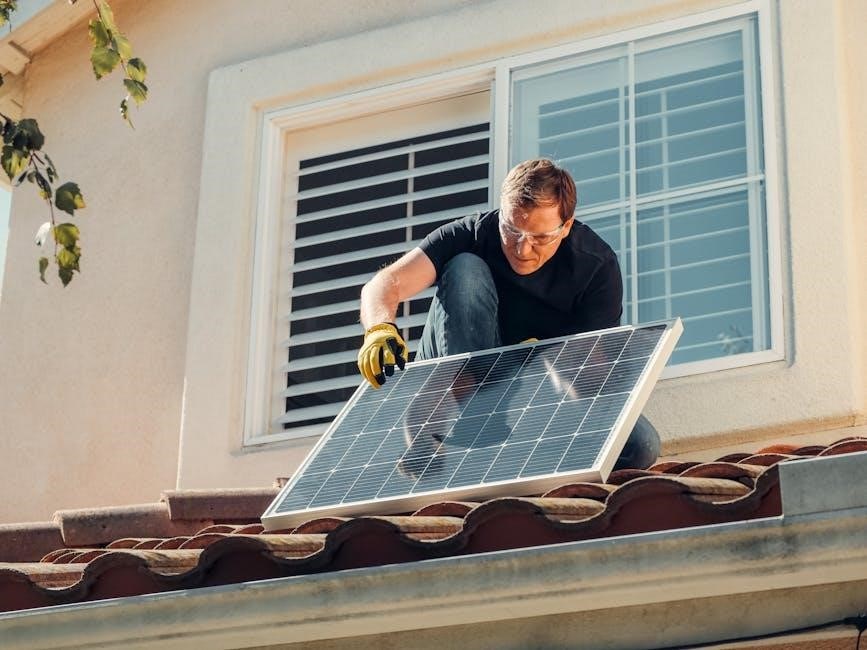
Outdoor Unit Installation
Proper installation of the outdoor unit is crucial for system performance. Follow safety guidelines and ensure the unit is securely placed‚ level‚ and connected correctly for optimal efficiency.
3.1 Placement and Leveling of the Outdoor Unit
Ensure the outdoor unit is placed on a stable‚ level surface to prevent vibration and noise. The location should allow proper airflow and drainage. Keep it away from obstacles and ensure it is securely fastened to withstand environmental conditions. Always follow the manufacturer’s guidelines for optimal placement and leveling to maintain efficiency and longevity of the system.
3.2 Connecting Refrigerant Piping and Electrical Connections
Connect refrigerant piping according to the manual‚ ensuring tight‚ leak-free joints. Use tools designed for R410A refrigerant to avoid contamination. For electrical connections‚ follow wiring diagrams and ensure all terminals are securely fastened. Hire a licensed electrician for complex wiring to prevent safety hazards. Double-check all connections for proper insulation and integrity before powering on the system.

Indoor Unit Installation
Install the indoor unit at the recommended height‚ ensuring it is securely fastened to prevent movement. Proper drainage and electrical connections are essential. Follow the installation manual for specific guidance.
4.1 Mounting Options (Wall-Mounted‚ Ceiling-Mounted‚ etc.)
The Mitsubishi MXZ series offers versatile mounting options‚ including wall-mounted‚ ceiling-mounted‚ and cassette-style units. Wall-mounted units should be installed at least 1.8 meters above the floor for optimal airflow. Ceiling-mounted units require a minimum height of 2.2 meters‚ while cassette units are concealed within the ceiling‚ providing a sleek aesthetic. Each option ensures efficient cooling and heating while maintaining interior design flexibility.
4.2 Installing the Indoor Unit and Drainage System
Install the indoor unit securely‚ ensuring it is level and properly anchored to prevent vibration. Connect the drainage system according to the manufacturer’s instructions‚ ensuring proper water flow and no blockages. The drainage system must be installed to prevent water leakage and ensure efficient operation. Always follow the guidelines provided in the installation manual for specific drainage requirements and unit placement.

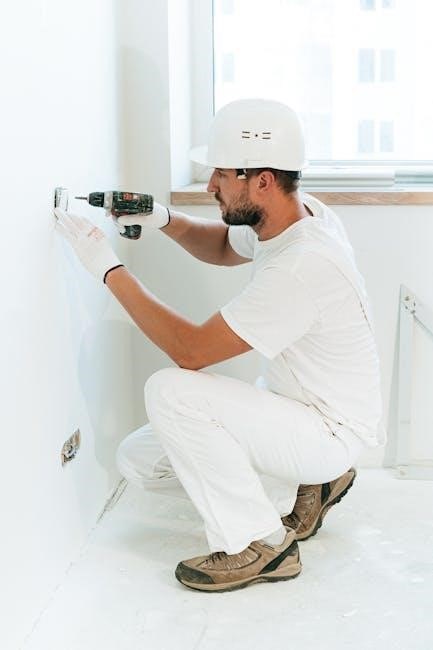
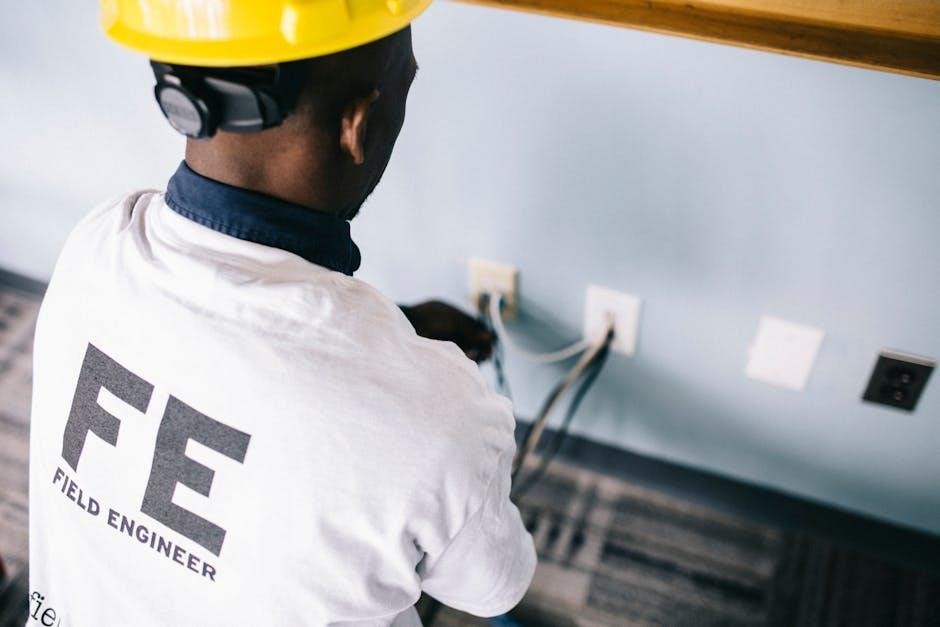
Electrical and Wiring Setup
Ensure proper electrical connections by following the installation manual. Use specified wires and tools for secure connections. Proper grounding is essential for safety and system reliability.
5.1 Connecting Power Supply and Control Wires
Ensure power supply and control wires are connected according to the manual. Use specified tools and wires for secure connections. Proper grounding is essential for safety and system performance. Follow electrical guidelines to avoid risks and ensure reliability. Always test connections after setup to confirm functionality and safety standards are met. Adhere to local electrical codes for compliance and optimal operation.
5.2 Ensuring Proper Grounding and Safety
Proper grounding is critical for electrical safety and system performance. Use specified tools and ensure all connections are secure to avoid risks. Hire a qualified electrician for complex wiring tasks. Always follow local electrical codes and manufacturer guidelines. Test all connections thoroughly to prevent short circuits or loose wires. Proper grounding ensures safe operation and protects against electrical hazards‚ ensuring reliability and compliance with safety standards.

Testing and Commissioning
Thoroughly test the system to ensure proper operation‚ safety‚ and efficiency. Verify refrigerant flow‚ electrical connections‚ and system performance. Ensure compliance with safety standards and manufacturer guidelines.
6.1 Initial Startup and Functionality Test
After installation‚ power up the system and check for proper operation. Verify that fans‚ compressors‚ and valves function correctly. Ensure all settings‚ including temperature and mode‚ are accurately configured. Test the system in heating and cooling modes to confirm performance. Inspect for any unusual noises‚ leaks‚ or malfunctions. If issues arise‚ consult the troubleshooting section or contact a professional. Once verified‚ the system is ready for full operation.
6.2 Checking for Refrigerant Leaks and System Performance
After startup‚ inspect the system for refrigerant leaks using an electronic leak detector. Ensure all connections are secure and verify proper refrigerant levels. Check system performance by monitoring temperature‚ airflow‚ and energy efficiency. Confirm that the system operates within specified parameters for heating and cooling modes. Address any discrepancies immediately to maintain optimal performance and prevent potential damage. Regular inspections ensure reliability and efficiency.

Troubleshooting Common Issues
Identify and resolve common issues like error codes‚ refrigerant leaks‚ or uneven airflow. Refer to the manual for diagnostic codes and solutions to ensure system efficiency and safety.
7.1 Diagnosing Errors and Alarm Codes
Identify error codes displayed on the unit or remote control. Codes like E1 or E2 indicate specific issues‚ such as sensor malfunctions or communication faults. Refer to the manual for code meanings and step-by-step solutions. Ensure proper wiring and refrigerant levels are checked. Addressing errors promptly prevents system damage and ensures reliable operation. Always consult the installation manual for accurate diagnostics and troubleshooting procedures specific to your Mitsubishi MXZ model.
7.2 Resolving Common Installation-Related Problems
Address common issues like refrigerant leaks by inspecting piping connections and using leak-detection tools. Ensure proper system leveling to avoid drainage problems. Check electrical connections for tightness and verify wiring compatibility. Consult the manual for troubleshooting specific error codes and follow recommended solutions. If issues persist‚ contact a certified technician to ensure system performance and safety. Proper maintenance and adherence to guidelines prevent recurring problems.
Maintenance and Service
Regularly clean filters and inspect units to ensure efficiency. Schedule professional servicing annually to maintain performance and address potential issues before they escalate. Proper upkeep extends system longevity.
8.1 Routine Cleaning and Filter Maintenance
Regular cleaning of air filters is essential for maintaining airflow and system efficiency. Use a soft brush or vacuum to remove dust and debris. Replace filters every 1-3 months depending on usage. Clean the outdoor unit’s coil annually to prevent dirt buildup. Proper maintenance ensures optimal performance‚ energy efficiency‚ and extends the system’s lifespan.
8.2 Scheduling Professional Servicing
Regular professional servicing ensures optimal performance and extends system lifespan. Schedule annual maintenance with a certified technician to inspect refrigerant levels‚ check electrical connections‚ and clean internal components. Addressing issues early prevents costly repairs. Additionally‚ ensure compliance with manufacturer guidelines for parts replacement and system upgrades. Proper servicing maintains efficiency and reliability‚ ensuring your Mitsubishi MXZ system operates at its best year-round.
The Mitsubishi MXZ installation manual provides essential guidance for a successful setup. By following these steps‚ you ensure safety‚ efficiency‚ and optimal performance of your system.
9.1 Final Checks and Ensuring Optimal Performance
After installation‚ perform final checks to ensure all components function correctly. Verify refrigerant levels‚ electrical connections‚ and drainage systems. Test the system under various operating modes to confirm optimal performance. Regular maintenance‚ as outlined in the manual‚ will extend the system’s lifespan and maintain efficiency. Address any issues promptly to prevent future malfunctions and ensure reliable operation.
9.2 Importance of Following Manufacturer Guidelines
Adhering to Mitsubishi’s installation guidelines ensures system reliability‚ safety‚ and optimal performance. Proper procedures prevent potential hazards like electrical shocks or refrigerant leaks. Compliance with manufacturer instructions also maintains warranty validity and guarantees adherence to local regulations. Following these guidelines ensures efficient operation‚ extends system lifespan‚ and minimizes future maintenance needs‚ providing long-term satisfaction and reliability for Mitsubishi MXZ systems.